Level 1: Hello World
Build your first SwarmKit workspace — one agent that greets users.
What you'll learn
- Installing SwarmKit
- Creating a workspace by hand (two YAML files)
- Running a topology with
swarmkit run - Validating with
swarmkit validate, and reading what it says
The finished workspace is in the repo at examples/tutorials/01-hello-world/; every command below
was run against it on the mock provider, and the output shown is what it printed.
Install
# Install uv (Python package manager) if you don't have it
curl -LsSf https://astral.sh/uv/install.sh | sh

# Install SwarmKit — [ui] is the web portal `swarmkit serve` hosts (Level 11); the server itself is built in
uv tool install "swarmkit-runtime[ui]"

# Verify
swarmkit --help
New to the terminal?
Open your terminal (Terminal on Mac, Command Prompt or WSL on Windows). Copy each command and press Enter. The `$` symbol means "type this in the terminal" — don't type the `$` itself.Build it
Create a project directory:
1. Workspace file
Every SwarmKit project starts with workspace.yaml — it defines your workspace:
# workspace.yaml
apiVersion: swarmkit/v1
kind: Workspace
metadata:
  id: my-swarm
  name: My First Swarm
  description: Learning SwarmKit step by step.
governance:
  provider: mock
governance.provider: mock means no real policy enforcement — right for learning.
2. Topology file
A topology defines which agents exist and how they connect. Create topologies/hello.yaml:
# topologies/hello.yaml
apiVersion: swarmkit/v1
kind: Topology
metadata:
  name: hello              # the topology's id — lowercase, dashes; this is what you run
  version: 0.1.0
  description: A single agent that greets users.
agents:
  root:
    id: greeter
    role: root
    model:
      provider: openrouter
      name: moonshotai/kimi-k2.5
      temperature: 0.7
    prompt:
      system: |
        You are a friendly greeter. When someone sends you a message,
        respond with a warm, personalized greeting. Keep it short —
        2-3 sentences max.
That's it — one agent (greeter) with a system prompt. role: root makes it the entry point. A
topology's metadata.name is its id, and it must be lowercase-kebab because it becomes a route
(POST /run/hello) and a skill id (Level 20).
3. Validate
✓ workspace: my-swarm
  topologies: 1   (hello)
  skills:     1   (topology-hello)
  archetypes: 0   (—)
  triggers:   0   (—)

topology: hello
  greeter (role=root)
    model: openrouter/moonshotai/kimi-k2.5

reachability: 0 declared, all wired

verification: 1 topology root(s)
  hello/greeter (root): no funnel — its output is checked by nothing
Three things to read here. skills: 1 — you wrote no skill; the runtime exposes every topology as
one (topology-hello) so other agents can call it later. reachability says nothing you declared is
dead configuration. And verification tells you, honestly, that this agent's answer is whatever the
model says — nothing checks it yet. Level 18 fixes that.
4. Run it
The mock provider needs no key and answers deterministically — use it while the shape is what you are learning:
For a real greeting, give the provider its key — the topology already names OpenRouter:
Or run the same topology on a local model without editing it — SWARMKIT_PROVIDER overrides the
provider for one run (install Ollama, ollama pull llama3.2):
SWARMKIT_PROVIDER=ollama SWARMKIT_MODEL=llama3.2 swarmkit run . hello --input "Hi! My name is Alex."
[greeter] thinking... (llama3.2)
[greeter] done (4.1s)
Hi Alex! It's a nice thing to meet you. How are you doing today?
(A model you have not pulled answers with Ollama's 404 Not Found — pull it first.)
swarmkit providers list . shows every provider and whether its key is set (Level 21).
5. Try more options
# See the resolved agents without running anything
swarmkit run . hello --input test --dry-run

# Verbose — per-agent calls, tools, timing
swarmkit run . hello --input "Hello!" --verbose

# Machine-readable validation, for CI
swarmkit validate . --json
--dry-run prints:
── dry run: hello ──

Agents:
  greeter (root) — openrouter/moonshotai/kimi-k2.5
Governance: MockGovernanceProvider

No LLM or MCP calls made. Use without --dry-run to execute.
and --verbose ends with a run summary:
6. See it in the portal
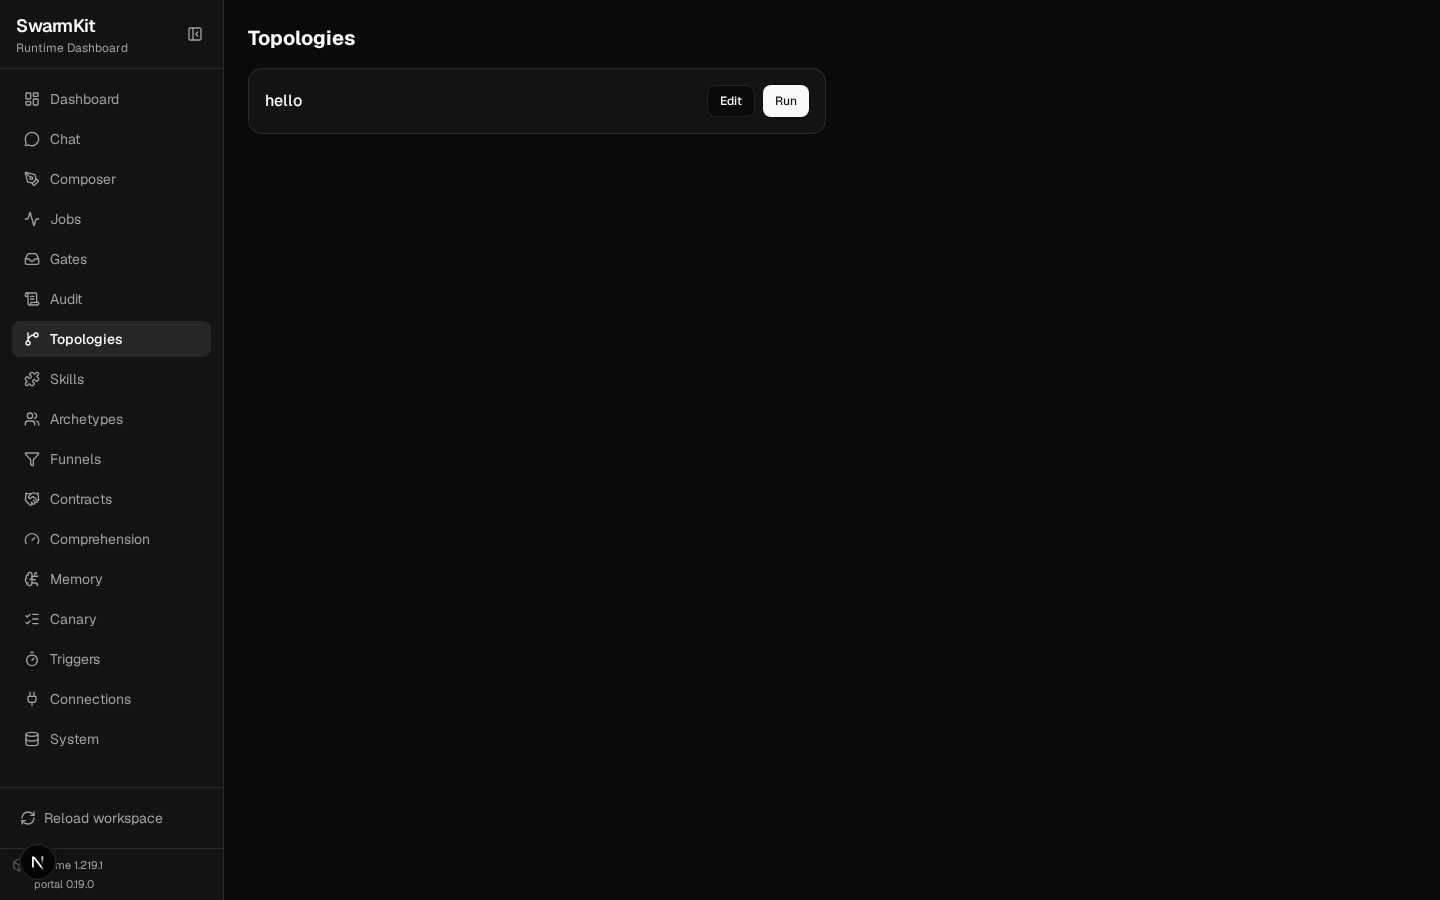
swarmkit serve . hosts the same workspace over HTTP, and with the [ui] extra the portal too:
uv tool install "swarmkit-runtime[ui]"
SWARMKIT_PROVIDER=mock swarmkit serve .            # → http://127.0.0.1:8000
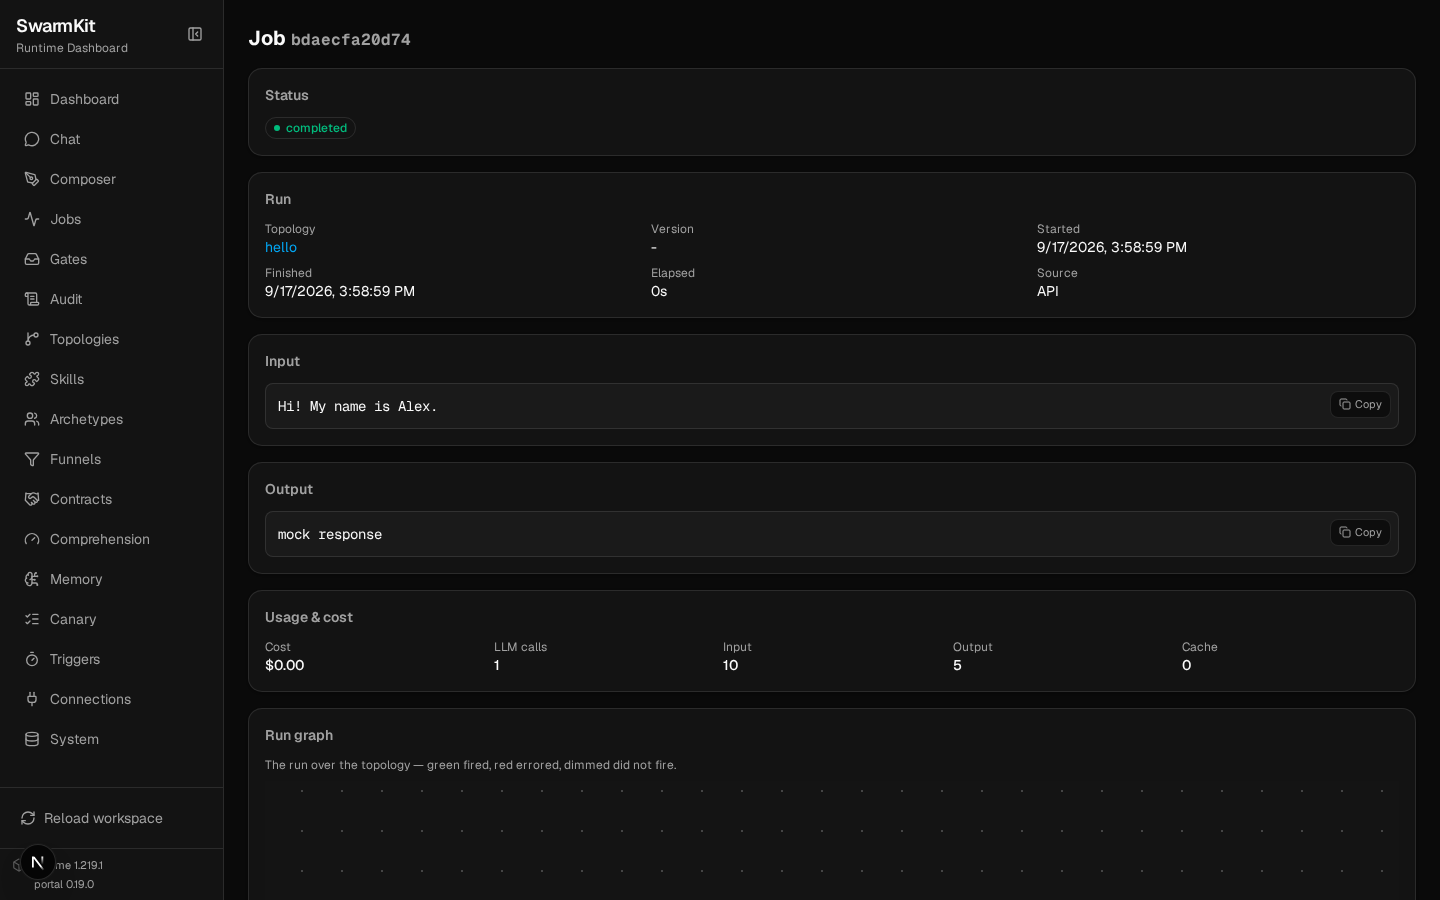
Every topology is a card with Run; every run is a job with its input, output, cost and run graph:
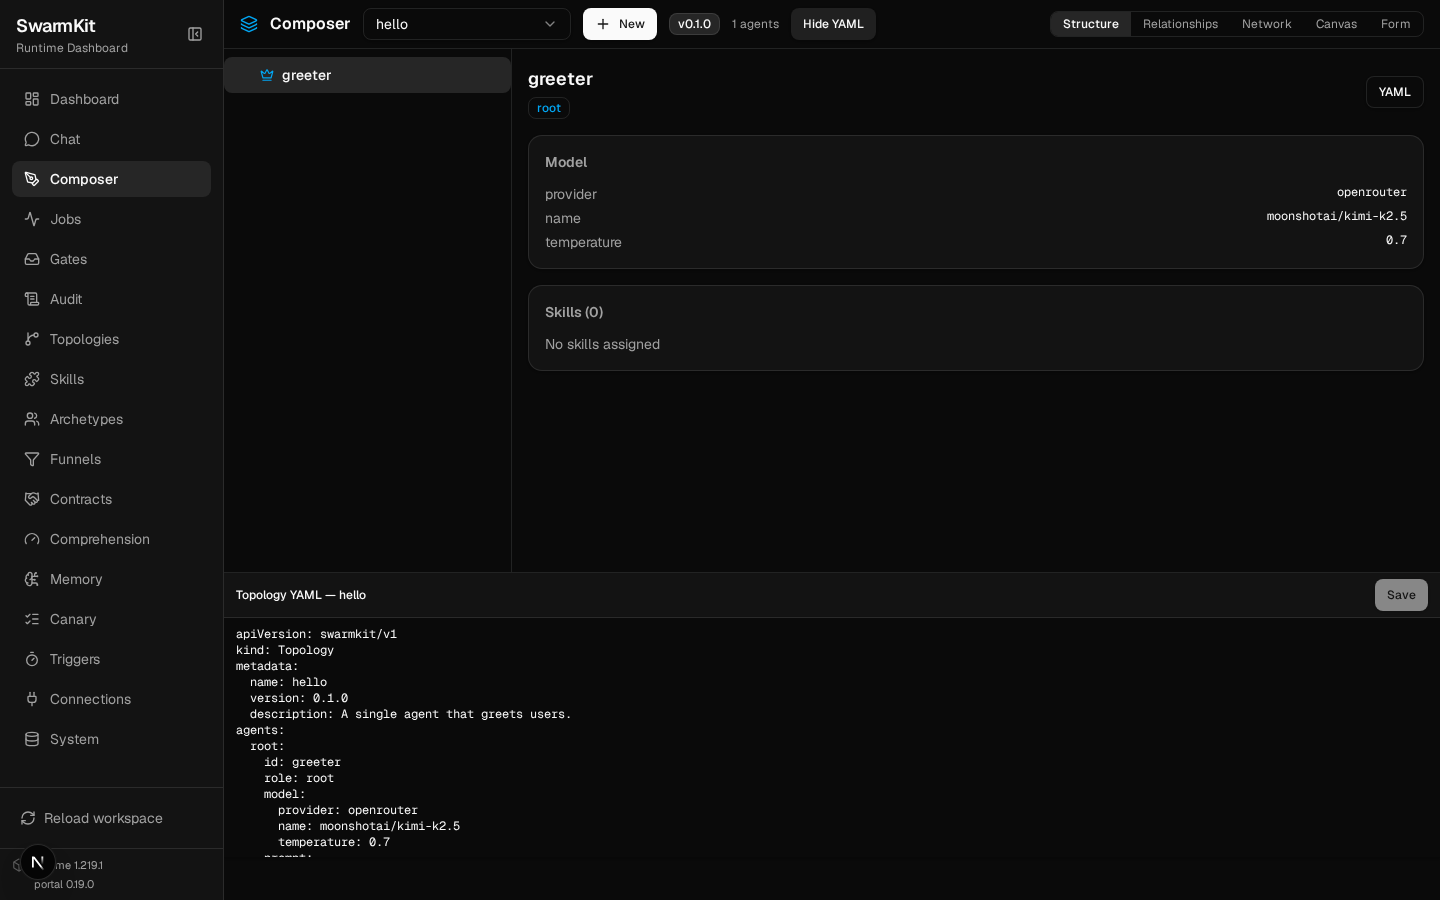
The file you wrote is the same thing the portal edits. Composer → hello → YAML shows
topologies/hello.yaml; Save writes it back through the same validation swarmkit validate runs,
and the runtime reloads. Everything in these tutorials that is shown as a file can be edited here
instead:
What happened
workspace.yamltold SwarmKit this directory is a workspace and which governance provider to usetopologies/hello.yamldefined one agent with a system promptswarmkit validateloaded and resolved everything — and reported what it could not vouch forswarmkit runcompiled the topology to a graph, sent your input to the model, printed the output
Your workspace so far
Next
Level 2: Archetypes — make your agent config reusable.